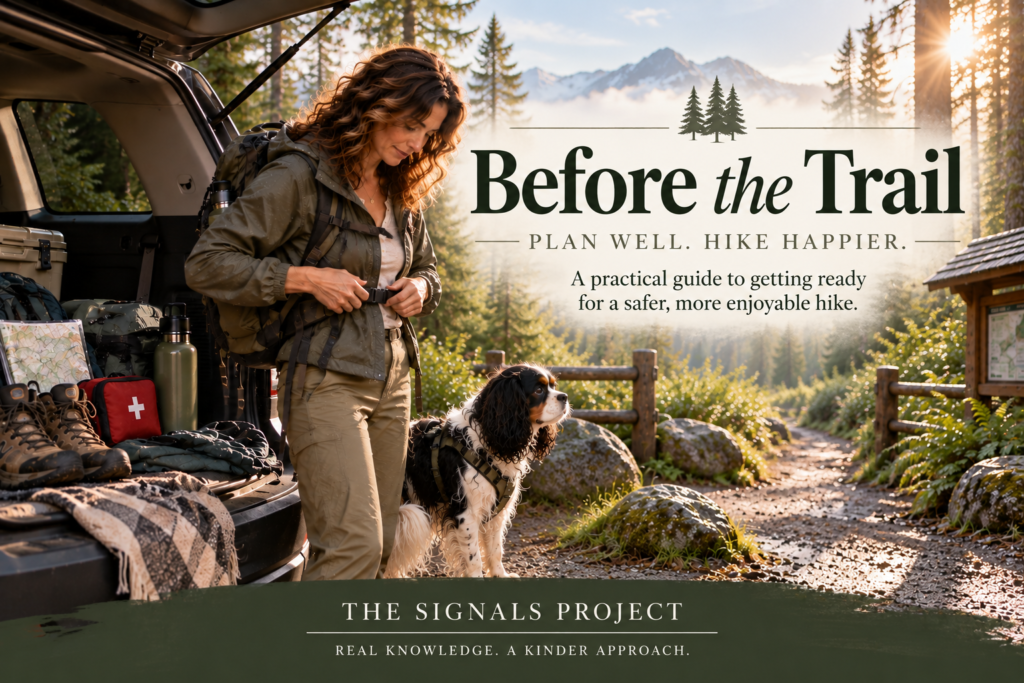
You do not need to become a hiker before you’re allowed to take a walk in the woods. You don’t need expensive boots, an enormous backpack, or enough specialized equipment to suggest you’re preparing to disappear into the wilderness for six months. You also don’t need to know everything before you begin.
But you should know a few things.
Because there is a difference between being intimidated by the outdoors and being prepared for it—and I’d very much like to help with the second without causing the first.
Preparation isn’t about imagining every terrible thing that could happen once you leave the parking lot. It’s about understanding the outing you’re actually taking, thinking through the conditions you’re likely to encounter, and giving yourself a little margin for the things you didn’t expect.
And how much preparation you need depends enormously on where you’re going. A two-mile loop through a busy local park is not the same outing as six miles into the mountains with no cell service. A flat forest path in June is not necessarily the same path in January. Three miles over pavement asks something very different of your body than three miles through sand, loose rock, roots, snow, or a thousand feet of elevation gain.
You prepare for the walk you’re actually taking.
That distinction matters because outdoor advice has a tendency to swing between two extremes. At one end, there’s wear comfortable shoes and remember some water! Which isn’t particularly helpful once the trail becomes more demanding. At the other, there’s enough equipment, terminology, and disaster planning to make a woman who wanted to walk through some trees reconsider the whole idea and go back to the treadmill.
We’re going to stay somewhere in the useful middle.
You don’t need every wilderness skill before you begin. You need the skills appropriate to where you’re going today. Start with a trail that matches what you know how to do. Learn a little more. Go a little farther if you want to. Build your outdoor skills the same way you build any other kind of capacity: through experience, curiosity, and practice.
And before you go, do a few simple things that make the experience safer and considerably easier to enjoy.
Because the goal of preparation isn’t to give you more reasons to stay home.
It’s to give you more confidence when you leave it.
This post contains affiliate links. If you purchase through one of these links, I may earn a small commission at no additional cost to you. As an Amazon Associate I earn from qualifying purchases.
Start With the Walk You’re Actually Taking
Before you think about shoes, water, snacks, or what belongs in your pack, figure out what you’re actually asking yourself to do.
How far is the trail? Is it a loop or an out-and-back? How much elevation does it gain? What is the surface like? How long do people typically take to complete it? Is it well traveled or fairly remote? Will you have cell service? Are there current closures, washed-out sections, high water, wildfire concerns, snow, or other conditions that could change the experience?
Mileage is useful, but mileage alone doesn’t tell you very much. Three flat miles through a city park and three miles climbing over roots and rocks with a thousand feet of elevation gain may occupy similar space on a map. They are not the same walk.
Neither is a trail you’ve walked ten times and one you’ve never seen before.
Take a few minutes before you leave to look at the route, read the current trail or park information, check the weather where you’re actually going, and find out whether there are any alerts or closures. If there’s a ranger station or visitor center where you’re headed, current local information can be considerably more useful than the trail review someone posted six months ago.
And consider the people going with you. A trail should make sense for the skills, comfort and physical capacity of the whole group—not just the person who found it online. If you’re walking together, plan to stay together.
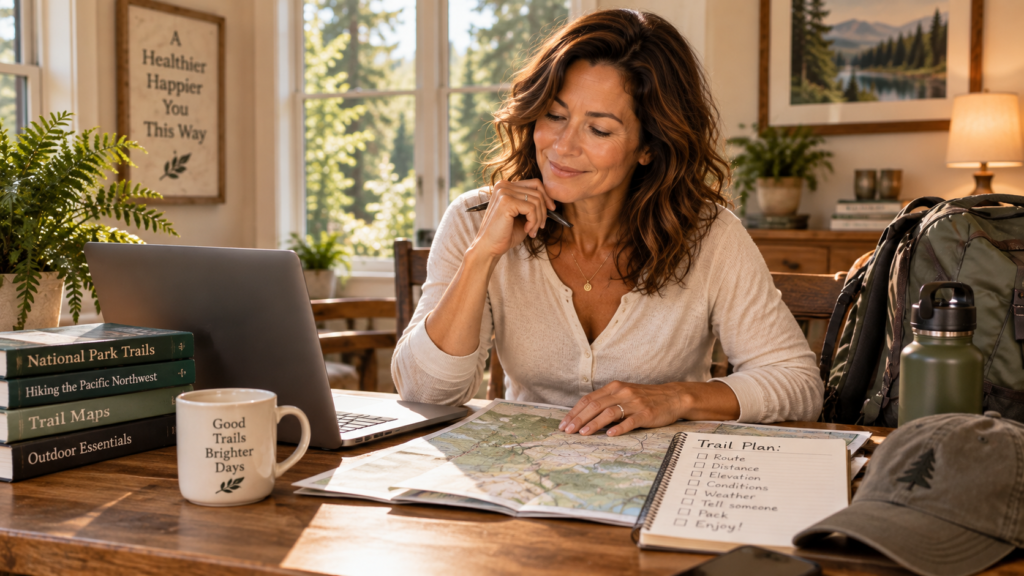
Then tell someone else the plan.
Someone who isn’t going with you should know where you’re going, who you’re going with, which trail or route you intend to take, approximately when you’re starting, and when you expect to be back. For a more remote outing, give them enough information that “she’s probably running late” eventually becomes “I need to check on her.”
The National Park Service formally recommends leaving this kind of trip plan with a trusted contact.
We’ve all seen 127 Hours.
Tell someone where you’re going.
And when you make it back to the car, remember to tell them that, too. Your emergency contact does not need to be mentally organizing a search party while you’re twenty miles away eating a cheeseburger. The NPS specifically recommends checking back in with your trusted contact when the activity is complete.
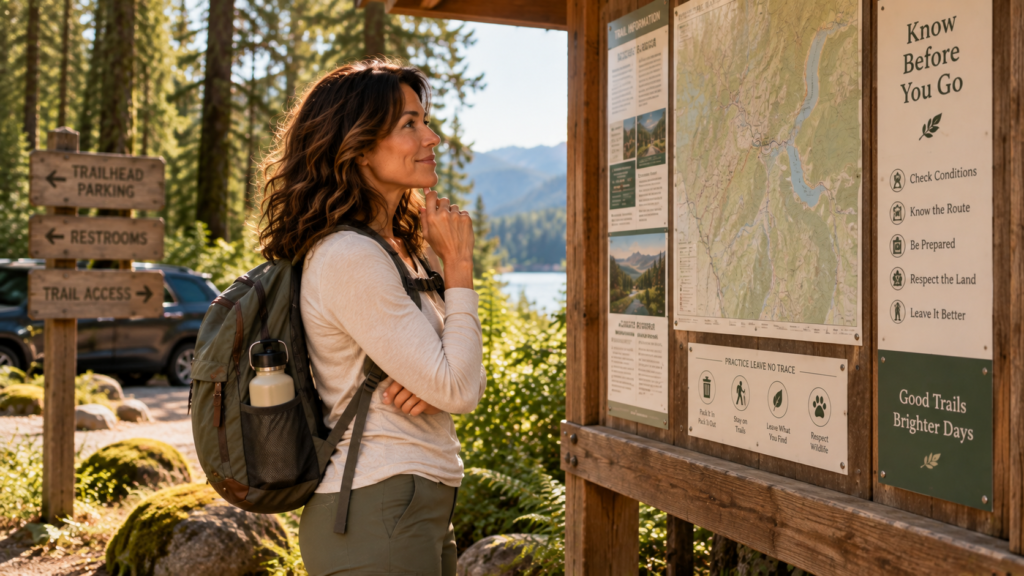
None of this needs to become an elaborate expedition briefing for an ordinary afternoon walk. The amount of planning should match the outing.
But knowing what lies ahead does something important: it lets you prepare for the trail you’re actually taking instead of the trail you imagined while sitting at home.
And once you know that, we can talk about the first piece of equipment that can make or break an otherwise lovely day outside: your feet.
Take Care of Your Feet Before They Hurt
You do not automatically need hiking boots because dirt has appeared beneath your feet. The right footwear depends on the trail: its surface, steepness, weather, distance, and what feels stable and comfortable on your own feet. A maintained, relatively smooth trail may be perfectly comfortable in a good walking shoe or trail runner. Rougher, steeper, wetter terrain may call for more traction, support, or weather protection. The point isn’t to look appropriately outdoorsy. The point is to give your feet the traction, protection, and comfort the trail requires.
Whatever you’re wearing, a long hike is a terrible occasion for its maiden voyage. Shoes that feel perfectly pleasant walking around the store can become considerably less charming after several miles. Wear new footwear on shorter outings first, and pay attention to slipping at the heel, pressure around the toes, rubbing, or anything else that becomes more noticeable with time.
Socks matter more than they get credit for, too. For longer walks, moisture-wicking wool or synthetic socks can help keep moisture away from the skin, and an extra dry pair weighs almost nothing in a pack. If your feet get soaked by rain, mud, a stream crossing, or one spectacularly poorly judged puddle, changing into dry socks can make the rest of the walk considerably more comfortable.
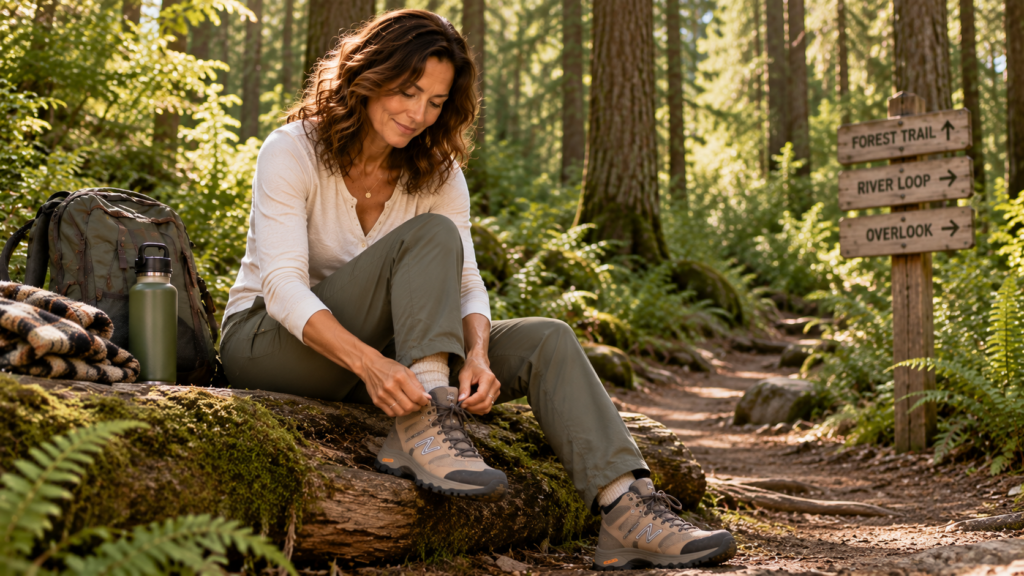
Affiliate link — I may earn a commission from qualifying purchases at no additional cost to you.
And if you already know that your heel—or any other particular spot—likes to develop a blister, don’t wait for the blister to prove you right. Protect that area before you leave with the blister-prevention tape, bandage, or product that works for you, and carry enough to reapply or treat another spot on the trail. If you begin feeling a hot spot, stop and deal with it then. Friction rarely becomes more cooperative because you decided to ignore it for another four miles.
For wet conditions, waterproof footwear or an appropriate water-repellent treatment can also be useful. Just make sure whatever treatment you use is intended for the material your shoes or boots are made from; not every waterproofing product belongs on every kind of footwear.
This is a small example of something we’re going to come back to throughout this article: deal with the reasonably foreseeable problem before it becomes an actual problem.
A strip of blister tape at the trailhead is mildly inconvenient.
A raw heel three miles from the car is considerably more persuasive.
And while we’re talking about keeping yourself dry, we should probably discuss the Pacific Northwest’s deeply held belief that a weather forecast is merely a suggestion.
Dress for the Weather You Might Get
Checking the forecast before you leave is obvious. Checking it for where the trail actually is is more important. Conditions at home—or even in the nearest town—may tell you very little about what is happening at higher elevation, along an exposed ridge, or several hours later when you’re making your way back.
And then there is Washington.
“It wasn’t raining when I left the house” is not legally binding on Washington weather.
A lightweight rain shell belongs in the conversation for exactly this reason, and one of those tiny inexpensive emergency ponchos can earn its permanent home at the bottom of a day pack. It weighs almost nothing, takes up very little space, and can become extraordinarily valuable when a surprise shower arrives—or when you decide you’d like to stand close enough to a waterfall to actually enjoy it without spending the next four miles soaked.
Getting wet isn’t merely annoying. Wet clothing can increase friction and chafing, and in cooler conditions, staying wet can also make it harder to stay warm. For longer outings or places where weather can change quickly, layers allow you to adjust as conditions and your own body temperature change. Outdoor-safety guidance commonly recommends wool or synthetic layers because they manage moisture and retain insulating ability better when wet than cotton.
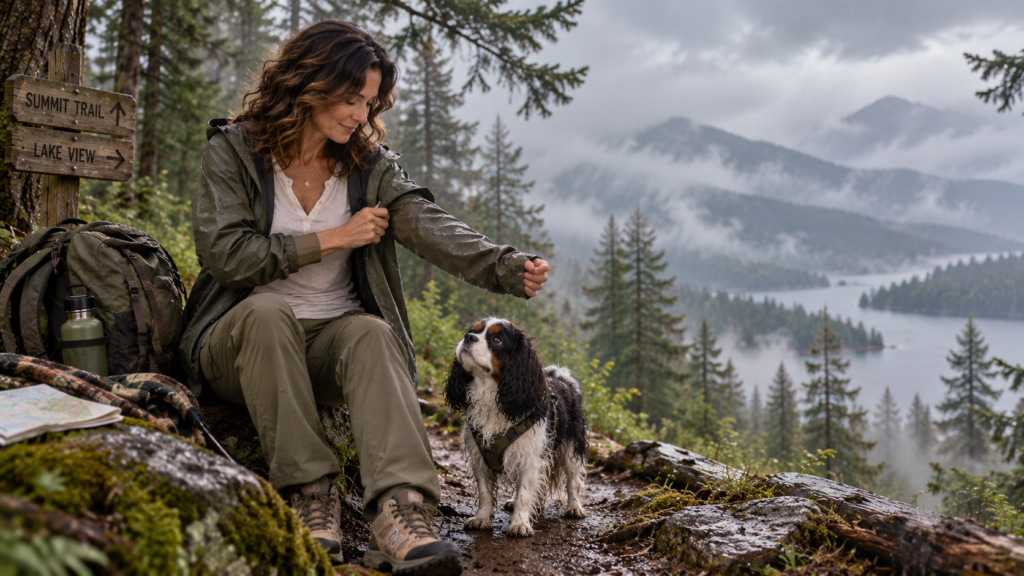
Affiliate link — I may earn a commission from qualifying purchases at no additional cost to you.
That doesn’t mean you need to dress as though you’re embarking on a polar expedition every time clouds appear. Once again, prepare for the outing you’re actually taking. A short summer walk near home and a mountain trail with rapidly changing conditions don’t require identical clothing.
But give yourself options. A light layer you can put on, something that can keep rain and wind off when appropriate, sun protection when you’re exposed, and—in colder conditions—the insulation necessary for the lowest temperatures you could reasonably encounter. The National Park Service includes extra clothing and a rain shell among its Ten Essentials precisely because outdoor conditions can change unexpectedly. When you’ll be exposed to the sun, bring appropriate sun protection too—a hat, sunglasses, protective clothing, and sunscreen can all be useful depending on the conditions and length of your outing.
And remember that the weather isn’t finished being relevant once you’ve checked the forecast. Keep paying attention while you’re out there. Clouds building over a ridge, wind picking up, temperature dropping, thunder in the distance, rain becoming heavier than expected—those are not inconveniences your original itinerary gets to overrule.
They’re new information.
We’ll come back to that when we talk about climate and changing trail conditions. For now, the practical lesson is much simpler:
Bring enough clothing to adapt when the day doesn’t look exactly like the forecast said it would.
Next, we need to deal with the two things that become increasingly important the farther and longer you walk: water and food.
Water, Food, and a Little Margin
How much water you need for a walk depends on far more than mileage. Temperature, humidity, elevation, intensity, duration, your own body, and whether reliable water is available along the route all matter. That’s why I’m not going to hand you one magic number and pretend it works equally well for an hour beneath cool trees and six hours in exposed desert heat.
What matters is planning before you leave. Find out whether water is available on the route, whether that source is currently flowing, and whether it needs to be treated. In hot conditions, your needs can increase considerably, and heat-safety guidance emphasizes carrying adequate fluids, taking breaks, and adjusting activity when conditions become demanding.
For an ordinary shorter walk, water may be all you need. Longer, hotter, or more strenuous outings deserve more thought. Food becomes useful not because every walk requires “sports nutrition,” but because several hours of movement require energy. Pack foods you’ll actually want to eat and that can tolerate living in a backpack: nuts, trail mix, dried fruit, a bar, a sandwich, or whatever works for you. For prolonged exertion—particularly in heat, when you’re sweating for hours—replacing sodium and other electrolytes can become relevant as well. More is not automatically better, though; excessive water intake can also be dangerous, which is another reason we’re not turning hydration into a contest.
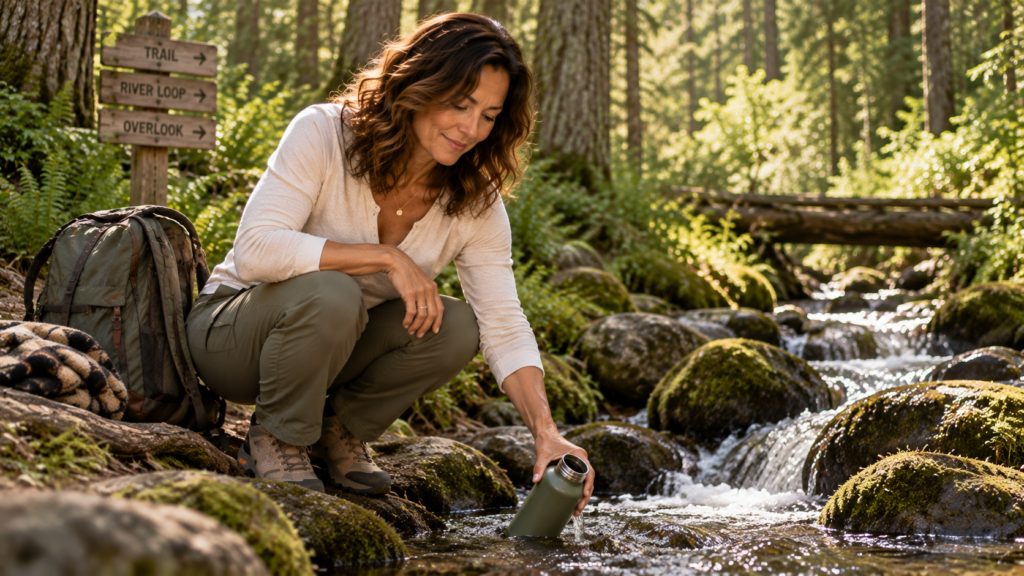
Affiliate link — I may earn a commission from qualifying purchases at no additional cost to you.
For longer hikes, I also like keeping extra water and something to eat in the car. You don’t have to carry that extra weight for miles, but if the trail takes longer than expected or you use more of your carried supply than planned, there is something waiting for you when you return.
Future You may regard that lukewarm bottle of water and emergency snack as one of Past You’s greatest accomplishments.
A compact water filter or purifier can provide another layer of flexibility on appropriate routes, but there’s an important distinction here: having a device doesn’t mean every natural water source is now your personal drinking fountain. Filters and purification methods don’t necessarily remove the same contaminants, and the risks vary by location. Know what your particular device treats, know whether usable water actually exists along the route, and learn how to operate it before you’re thirsty and reading tiny instructions beside a creek. The National Park Service includes both water and water-treatment supplies among the Ten Essentials for this reason.
And that brings us to a larger question.
If we’re not trying to haul an outdoor-supply store into the forest with us, what actually belongs in the pack?
So What Actually Belongs in the Pack?
This is where outdoor advice can get intimidating very quickly. You start out wanting to walk through the woods for an afternoon and fifteen minutes later someone has convinced you that you need enough equipment to establish a small civilization.
You don’t.
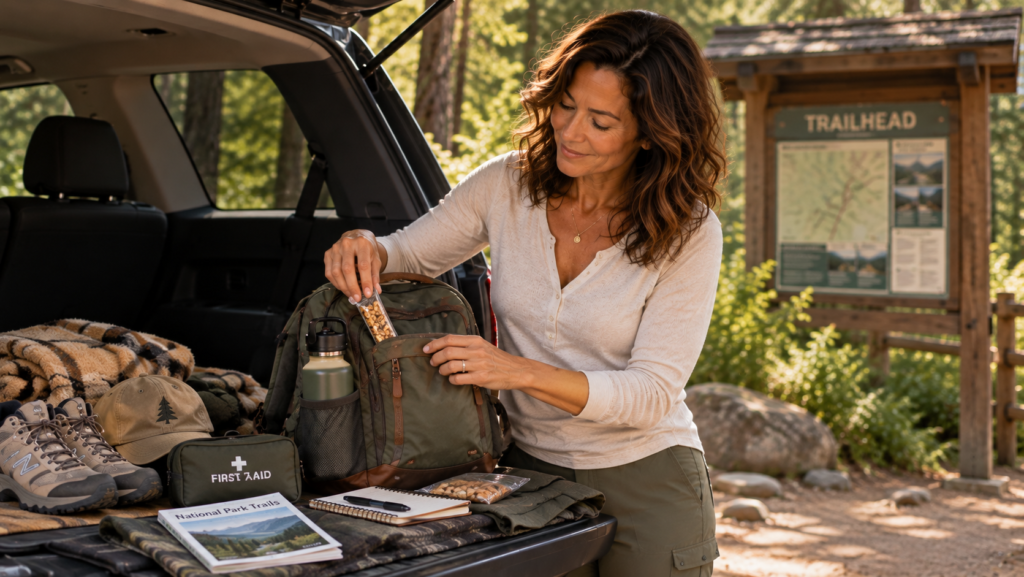
But once you’re heading onto a real trail—particularly a longer or more remote one—there is an established framework worth knowing. The Ten Essentials were developed as categories of equipment that can help with minor injuries, sudden weather changes, unexpected delays, or emergencies. The National Park Service recommends them as a basic outdoor-preparedness system, adjusted for the particular activity and environment.
Those ten categories are navigation, sun protection, extra clothing, illumination, first aid, fire, repair tools, extra food, water and water treatment, and emergency shelter.
Before you picture a backpack the size of a refrigerator, remember that these are systems, not necessarily enormous pieces of equipment. Emergency shelter might be a tiny space blanket or lightweight emergency bivy. Repair supplies might include a small multi-tool and some duct tape. Illumination can be a compact headlamp with spare batteries. First aid can be a small kit appropriate to the outing rather than an ambulance strapped to your back.
Affiliate link — I may earn a commission from qualifying purchases at no additional cost to you.
And bring the headlamp.
Your phone has a flashlight, yes. Your phone is also your communication device, navigation tool, camera, and possibly the place where you stored your trail information. Burning through its battery because the hike took longer than expected is not an especially good trade. A small headlamp leaves both hands free, weighs very little, and NPS specifically recommends headlamps as the preferred outdoor light source for that reason.
You planned to be back before dark. Wonderful. The trail did not sign that agreement.
A wrong turn, slower pace, minor injury, unexpected trail condition, or simply taking longer than you estimated can move sunset considerably closer than you’d like. Carrying light doesn’t mean you intend to hike in the dark. It means darkness isn’t suddenly an emergency because the day ran long.
The same logic applies to the rest of the pack. Bring your personal medications. Carry basic first-aid supplies and know what’s actually inside the kit. Bring sun protection when exposure warrants it, insect protection where appropriate, and emergency supplies that make sense for the environment you’re entering. A whistle is another tiny item worth considering, particularly when hiking with children; NPS notes that it can help searchers locate someone who becomes lost.
But here’s the part of the Ten Essentials that matters more to me than memorizing ten categories:
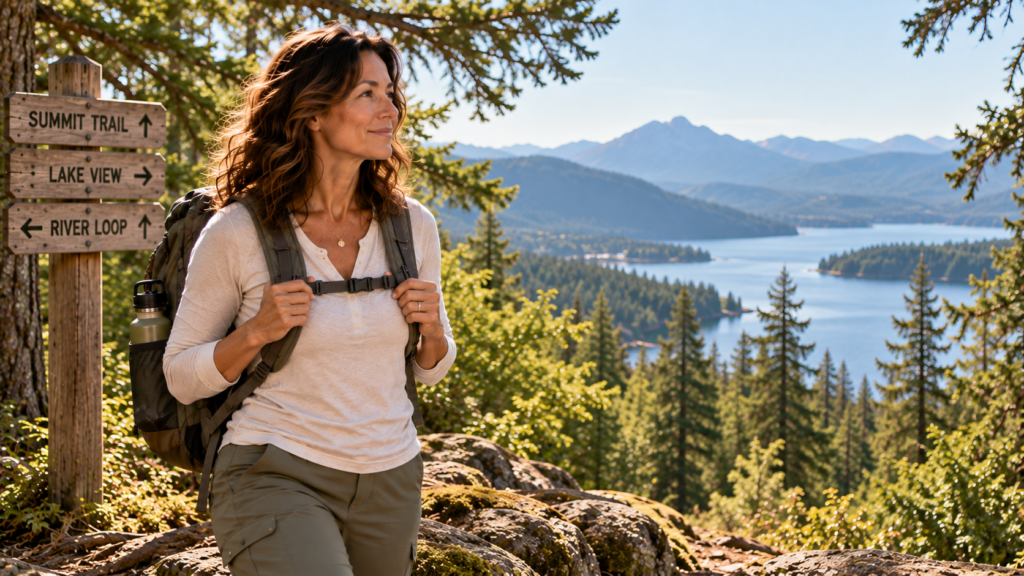
Preparation isn’t owning the equipment. It’s knowing what to do with it.
A compass you have never used does not magically give you navigation skills. A first-aid kit doesn’t teach first aid because you zipped it into your backpack. A water filter isn’t particularly helpful if the first time you read its instructions is beside a creek while you’re already thirsty.
Affiliate link — I may earn a commission from qualifying purchases at no additional cost to you.
Try your equipment before you need it. Make sure it works. Learn the basics somewhere comfortable and forgiving. NPS trip-planning guidance makes exactly this point: equipment should be tested before the trip, fit correctly, work properly, and be something you know how to use.
And please don’t interpret that as another barrier to getting outside. You don’t need every outdoor skill before you begin. You need the skills appropriate to the outing you’re taking.
Start where your skills are. Then let your skills grow along with the places you want to explore.
Because one of the most important pieces of equipment you’ll carry isn’t really equipment at all.
It’s knowing where you are—and how to get back
Know Where You Are Before You Need to Know Where You Are
Your phone is an extraordinary navigation tool right up until the moment it isn’t.
Cell service can become unreliable or disappear completely surprisingly close to civilization, and many parks and wilderness areas have large stretches with little or no reception. Even when your carrier’s coverage map suggests otherwise, mountains, canyons, trees, terrain, and simple bad luck can interfere with service.
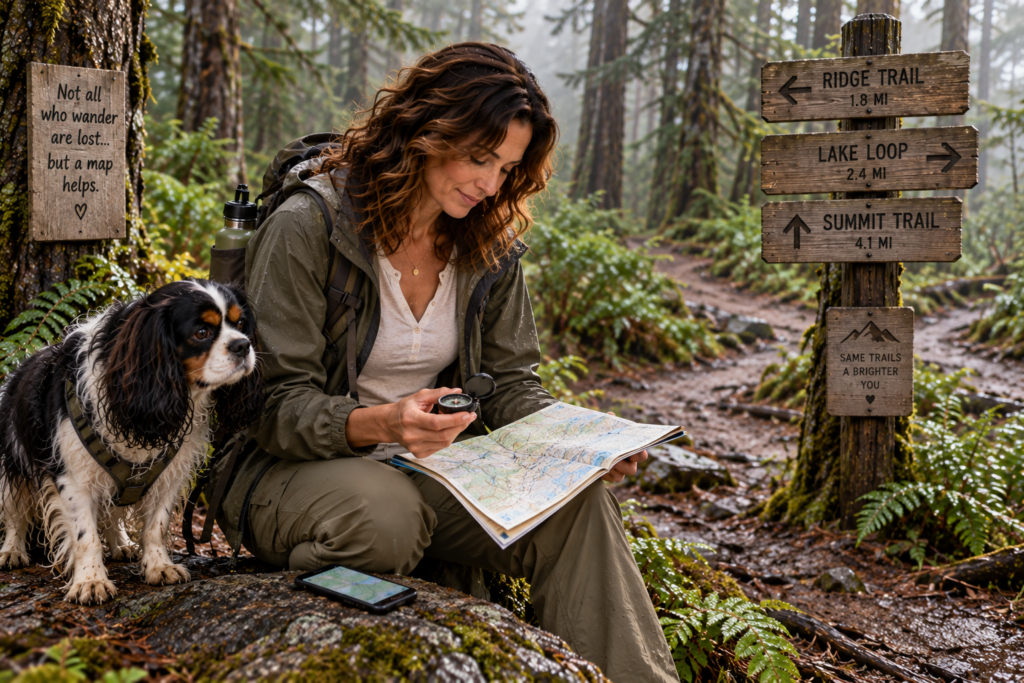
Fortunately, you don’t need cell service to use a map you’ve already downloaded. Before leaving home—or at least before leaving reliable service—download the trail map and surrounding area for offline use. Many navigation apps offer this option, and the National Park Service app allows park information and maps to be downloaded specifically for offline access. Then open the downloaded material while your phone is offline and make sure it actually works. “I’m pretty sure I downloaded it” is a disappointing discovery to test at a trail junction.
Take a screenshot of particularly important information if that’s useful, too: the route, trailhead, junctions, parking location, or other details you may want quickly. Start with a fully charged phone, and consider a small portable battery for longer outings. When service disappears, airplane mode can help prevent your phone from wasting battery constantly searching for a signal.
And no, Google Maps is not a wilderness survival plan.
Affiliate link — I may earn a commission from qualifying purchases at no additional cost to you.
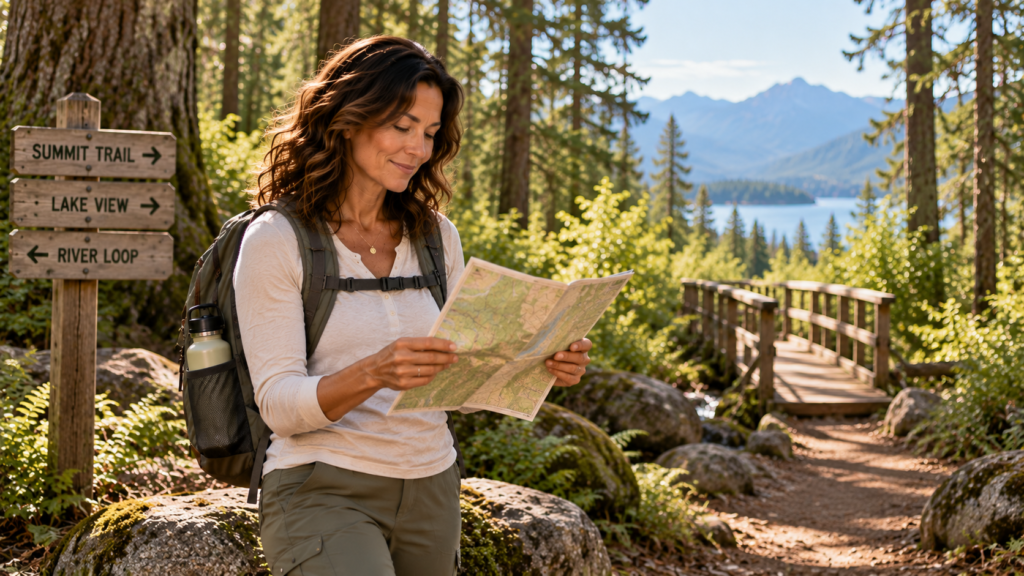
For more remote trails, a paper map and compass remain valuable backups precisely because they don’t require a cellular connection, charging cable, or functioning phone. NPS recommends carrying them and, importantly, knowing how to use them.
I realize we’ve now arrived at a skill that smartphones may have successfully murdered.
If someone hands you a compass and your complete navigation strategy is the red part does north things, that’s fine. You simply haven’t learned it yet. But throwing a compass into your pack doesn’t automatically confer nineteenth-century explorer skills. If you’re venturing somewhere remote enough that you may genuinely need one, learn the basics before the day you need them.
The same principle applies to satellite communicators or personal locator beacons. In genuinely remote areas without cellular coverage, they can provide an additional way to summon help, and NPS specifically recommends considering that kind of communication for backcountry travel. But again: learn how yours works before an emergency occurs.
Affiliate link — I may earn a commission from qualifying purchases at no additional cost to you.
There are also wonderfully low-tech navigation habits that cost nothing. Pay attention to trail signs and junctions. Notice recognizable landmarks. And every so often—particularly when trails intersect—turn around and look behind you.
The route that looks completely obvious while you’re walking away from the trailhead can look remarkably unfamiliar when you’re approaching the same intersection from the opposite direction.
None of this means you need advanced navigation training to enjoy a well-marked two-mile trail through a busy park. Once again, preparation scales with the outing.
But as the trail becomes longer, less traveled, less clearly marked, or farther from help, navigation becomes less of a convenience and more of a skill.
And sometimes the landscape itself changes what preparation means entirely.
Climate Changes the Trail
One of the easiest mistakes to make when planning a hike is assuming the trail is a fixed thing.
It isn’t.
The line on the map may stay exactly the same, but heat, rain, snow, wind, tides, wildfire, elevation and recent storms can turn the same route into a very different experience. The conditions are part of the trail.
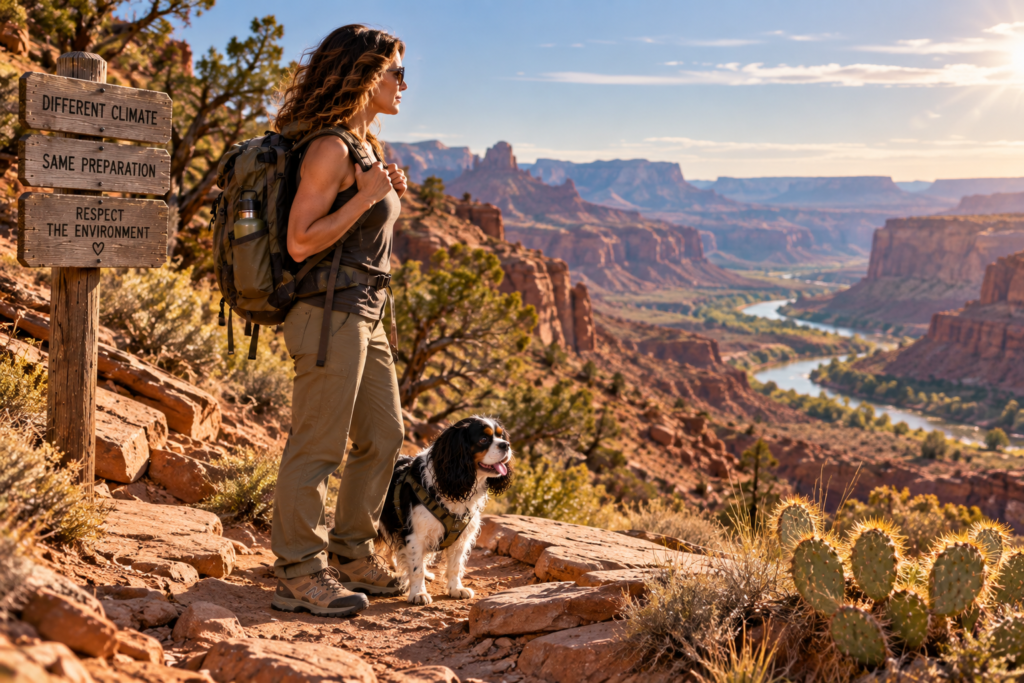
In hot or desert environments, that may mean starting much earlier in the day, carrying considerably more water, planning around limited shade and recognizing that the ground itself can become dangerously hot. Sand adds another layer: walking through it can require substantially more effort than walking the same distance on a firm surface. At Great Sand Dunes National Park, for example, summer sand-surface temperatures can reach around 150°F.
Suddenly “it’s only three miles” isn’t particularly useful information.
Affiliate link — I may earn a commission from qualifying purchases at no additional cost to you.
Coastal walking has its own rules. On some routes, the tide determines whether a section of trail is merely inconvenient or literally impassable. If you’re walking a coastline where tides affect access, check a reliable tide table before you go and understand when you need to be through particular sections. Weather, wind and surf can complicate those predictions further.
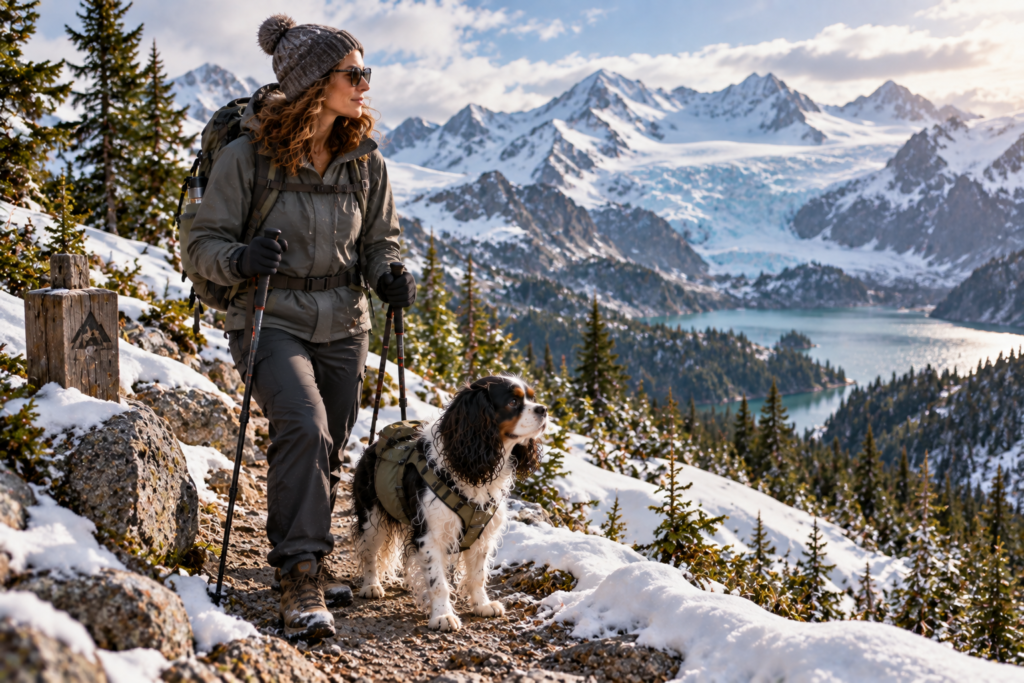
Cold and snow change traction, visibility, clothing needs and navigation. Snow can cover the trail you’re supposed to be following, obscure markers and hide hazards beneath the surface. If you’re entering conditions that require technical snow travel, avalanche knowledge, glacier travel or specialized equipment, we’ve moved beyond the scope of a beginner walking article.
Knowing where your current skill set ends is also an outdoor skill.
Affiliate link — I may earn a commission from qualifying purchases at no additional cost to you.
Mountain environments introduce elevation and rapidly changing weather. A beautiful day at the trailhead doesn’t guarantee identical conditions several thousand feet above it. And thunderstorms deserve particular respect in exposed terrain. If you can hear thunder, the National Weather Service says you’re already close enough to be struck by lightning; the safest options are a substantial enclosed building or hard-topped vehicle. Planning a turnaround time that gets you off exposed ridges before forecast storms develop is much better than trying to improvise once you’re standing underneath one.
Canyons and desert washes present another problem that isn’t always obvious: it doesn’t necessarily have to be raining where you are for water to become dangerous where you are. Rain falling miles away can funnel into canyons, gullies and dry streambeds and cause rapid flash flooding downstream. Know the forecast for the wider area, understand your escape routes, and move to higher ground if conditions begin changing.
Rain and snowmelt can change ordinary water crossings, too. A creek you crossed comfortably earlier in the day may be deeper, faster or entirely different by the time you return.
The creek you crossed this morning did not sign a contract promising to look the same on your way back.
If moving water looks unsafe, don’t let the fact that this is where the trail goes talk you into crossing it. Flood-safety guidance is remarkably uncomplicated on this point: don’t walk into moving floodwater; turn around and find another way.
Wildfire and smoke can change plans before you even reach the trailhead. Check closures, fire restrictions and air-quality conditions in fire season rather than assuming a trail being marked on your map means it is currently appropriate—or even open—to hike. NPS specifically recommends checking park alerts for closures and wildland-fire hazards before heading out.
None of this is meant to turn a walk outside into an environmental-threat assessment. It’s meant to remind you that different places ask you to know different things.
You don’t need desert knowledge for your neighborhood forest trail. You don’t need to understand tides to walk inland. You don’t need glacier-travel skills because you can see Mount Rainier from the parking lot.
But when you enter a particular environment, learn the handful of things that matter there.
Because knowing the trail means knowing more than where the line goes on the map.
It means understanding the conditions surrounding it.
Wildlife Is Part of the Landscape
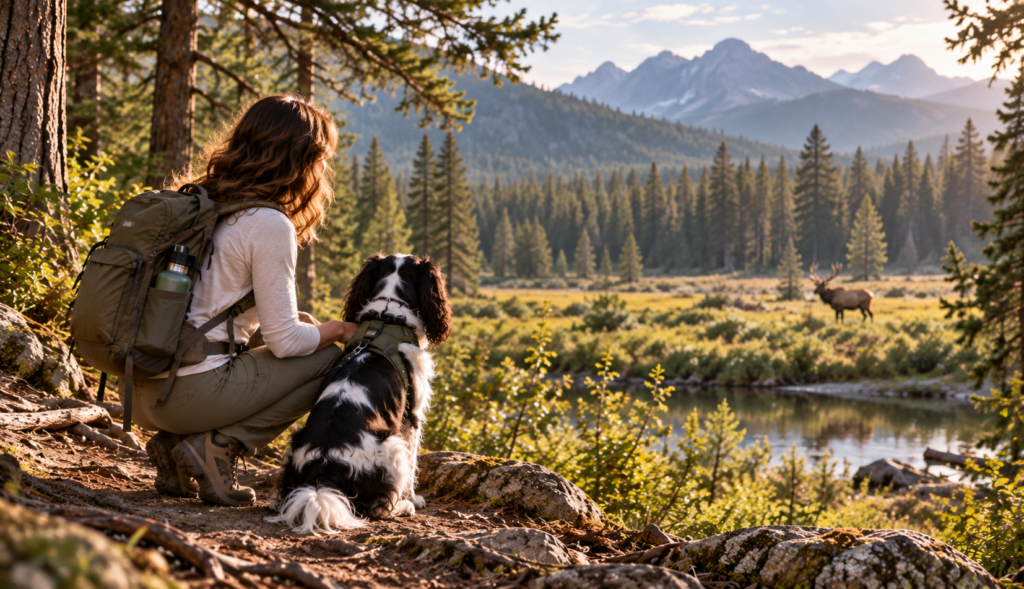
Seeing wildlife can be one of the best parts of being outside. It can also make people considerably more nervous about hiking than the actual risk warrants. The answer isn’t to pretend wild animals don’t exist, and it isn’t to walk through the forest convinced something is stalking you behind every tree.
It’s to know what lives where you’re going and what you’re supposed to do if you encounter it.
Wildlife guidance is location- and species-specific. The appropriate response to a bear isn’t necessarily the appropriate response to a cougar, moose, elk, snake, or bison. Even bear guidance can vary with species, location, and the animal’s behavior. Before visiting an area with large wildlife, take a few minutes to read the recommendations from that park, land agency, or wildlife authority rather than relying on something you vaguely remember hearing twenty years ago.
The simplest strategy is prevention. Give wildlife plenty of room, never approach or feed an animal, keep food and garbage appropriately secured, and pay attention to what’s around you. Parks have different minimum-distance rules, so check the rules where you’re going; a good general clue is that if an animal changes its behavior because of your presence, you’re too close.
In bear country, avoiding surprise encounters is particularly important. Talk as you walk, especially around blind corners, through dense vegetation, or near rushing water where an animal may not hear you approaching. And apparently we can save our money on making ourselves look like Christmas trees covered in bear bells. Human voices and deliberate noise are considerably more useful.
Affiliate link — I may earn a commission from qualifying purchases at no additional cost to you.
There are also places where hearing the environment is part of your safety equipment. Earbuds may be lovely on a familiar neighborhood path, but in areas with large wildlife—or anywhere situational awareness matters—consider leaving your ears available for the job. Denali National Park specifically advises hikers not to wear headphones or earbuds in bear country.
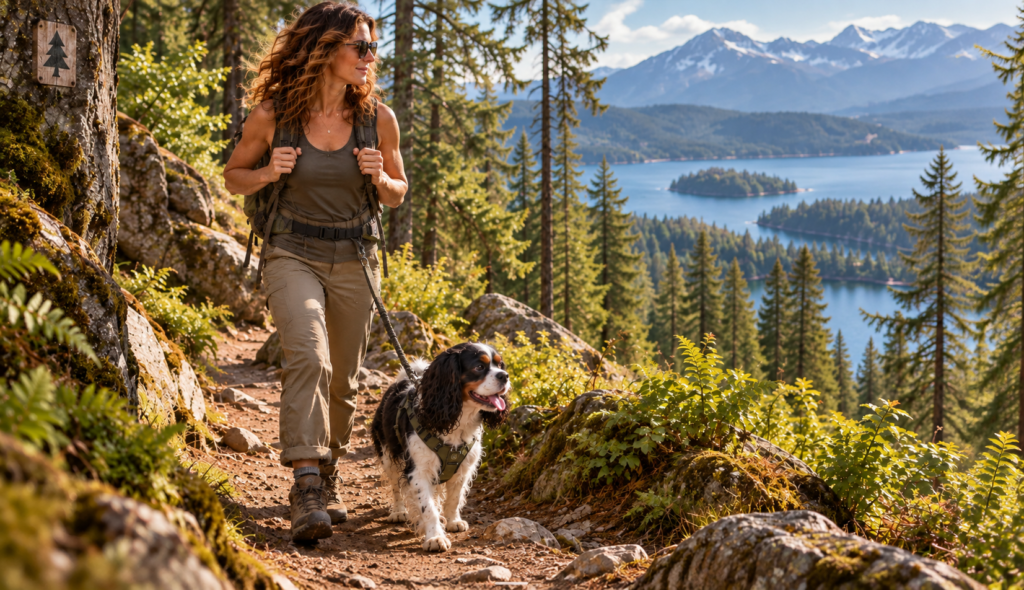
If you’re bringing a dog, check the rules before assuming she’s allowed on the trail at all. Where dogs are permitted, keep yours leashed and away from wildlife. Even an extremely good dog can startle or provoke a wild animal, and your dog can be at risk too. Bring enough water for both of you, consider the trail’s demands on paws as well as feet, and remember that your dog’s enthusiasm for accompanying you is not necessarily an accurate assessment of her heat tolerance or endurance.
Affiliate link — I may earn a commission from qualifying purchases at no additional cost to you.
And if you’re traveling somewhere where bear spray or another wildlife-specific precaution is recommended, learn how to carry and use it before you need it. This is another place where our equipment rule matters.
Preparation isn’t about becoming frightened of wildlife.
It’s about learning enough that seeing an animal can remain what it should be most of the time:
an extraordinary moment in somebody else’s home.
Going Alone Without Being Reckless
There is something wonderful about walking alone. You choose the trail, the pace, when to stop, when to keep going, and whether you’d like to spend ten uninterrupted minutes staring at an enormous tree simply because you can.
Solo hiking also changes the equation a little. If you twist an ankle, become disoriented, or discover that the conditions ahead aren’t what you expected, there isn’t another person standing beside you to help solve the problem. That doesn’t mean women shouldn’t hike alone. It means going alone deserves a little extra preparation. The National Park Service makes the same distinction: hiking with a companion adds safety, while solo hikers should take additional measures to prepare.
Start conservatively if you’re new to it. Choose a familiar or well-marked trail, somewhere reasonably well traveled, during daylight, and within your current abilities. Leave the trip plan we discussed earlier with someone you trust. Carry the supplies appropriate to the outing, know your route, and have a way to navigate if your phone loses service.
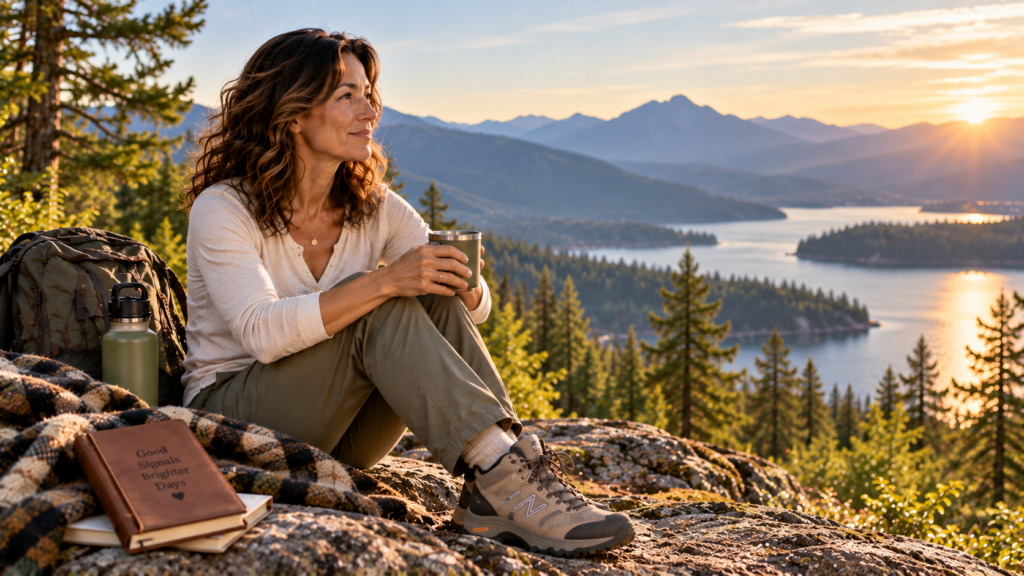
And you do not owe strangers your itinerary.
You can be friendly without announcing that you’re hiking alone, where your car is parked, where you’re headed next, or exactly when someone expects you home. NPS guidance for the Appalachian Trail specifically recommends using extra caution when hiking alone and not broadcasting that fact or sharing your plans with strangers.
Pay attention to people as well as terrain. If someone makes you uncomfortable, create distance. Change direction if it’s safe to do so. Move toward other hikers, a ranger station, visitor center, or populated area when possible. You don’t need enough evidence to prosecute a court case before you’re allowed to respond to the feeling that something isn’t right.
And remember that hiking with another person doesn’t make preparation unnecessary either.
Two people who don’t know the route are still two people who don’t know the route.
Groups should stay together, and NPS recommends letting the slowest hiker set the pace rather than allowing the group to stretch farther and farther apart.
Whether you’re alone or with six people, the principle is the same: your confidence should come from preparation and awareness, not from assuming nothing will happen.
Which brings us to perhaps the most underrated outdoor skill of all:
knowing when not to keep going.
Turning Around Is a Trail Skill
There is a strange little psychological trap that happens once we’ve decided where we’re going. We picked the viewpoint. We drove to the trailhead. We packed the bag. We’ve already walked three miles toward the thing. Surely we’re going to finish now.
Not necessarily.
Weather changes. Trails wash out. Water rises. Snow appears where you weren’t expecting it. Someone in your group is struggling. Your knee starts hurting. You’re moving much more slowly than planned and daylight is disappearing faster than the miles are. Sometimes nothing dramatic happens at all—you simply realize that continuing no longer feels like a particularly good idea.
Turn around.
The National Park Service specifically recommends establishing a turnaround time and sticking to it when a hike is taking longer than planned. Its current trip-planning guidance also advises reconsidering an activity when conditions change, you don’t have the equipment you need, or you simply aren’t feeling up to what you planned.
I think this deserves to be treated as an outdoor skill in its own right.
Turning around isn’t the failed version of finishing the hike. Sometimes turning around is what successfully completing the hike looks like.
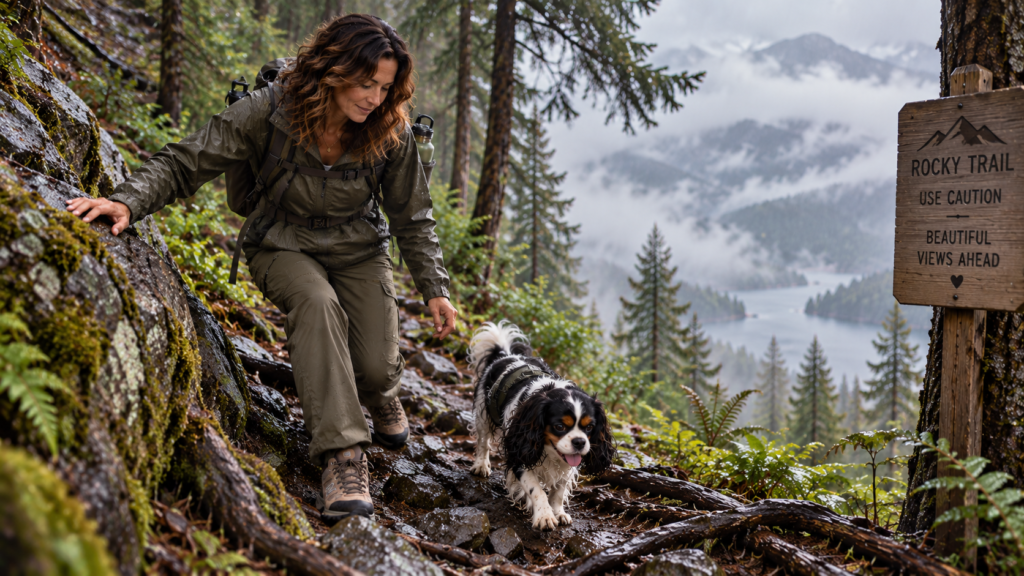
And yes, this can be harder than it sounds. Once you’ve invested several hours getting somewhere, the temptation to keep going because you’re almost there can be powerful. But the distance you’ve already traveled doesn’t make the conditions ahead safer, put more daylight back into the sky, or give tired legs more capacity.
The mountain will still be there. The waterfall will continue falling without you.
The viewpoint will recover emotionally from your absence.
And this is where I want you to remember something much bigger than hiking:
The plan you made before the trail was based on the information you had before the trail. You’re allowed to make a different decision when the information changes.
That’s not quitting. That’s responding.
Maybe the new information comes from the environment: weather, water, terrain, wildlife, daylight. Maybe it comes from your body: pain, unusual fatigue, dizziness, overheating, cold, or simply the realization that you’ve reached today’s limit. NPS guidance specifically encourages hikers to keep checking in with how they feel and consider taking a break or turning around when something doesn’t feel right.
You don’t earn extra points for ignoring useful information because it wasn’t part of the original plan.
New information. New decision.
And perhaps that is the most important thing to carry with you onto the trail.
The Trail Doesn’t Need Your Ego
Preparation gets you to the trail with a good plan. Awareness helps you keep making good decisions once you’re there. But both become considerably less useful if ego gets the final vote.
There is no prize for choosing the hardest trail. You don’t need to keep pace with the fastest person in your group. You don’t need to prove that you’re still capable of the distance you could comfortably cover ten years ago. And you certainly don’t need to continue because everyone else seems fine when your own body is telling you something different.
The trail doesn’t care what you have to prove.
This is one reason I want you checking in with yourself throughout the day, not only when something goes obviously wrong. How does the effort feel? Are you eating and drinking? Are your feet beginning to hurt? Are you warmer or colder than expected? Is the altitude affecting you? Are you still moving comfortably enough to complete the return trip—not merely reach the destination?
That last one matters. The viewpoint is rarely the end of the hike. You still have to get back to the car. NPS hiking guidance specifically reminds hikers to account for the entire round trip, monitor time and distance, take breaks, and let the slowest person set the group’s pace.
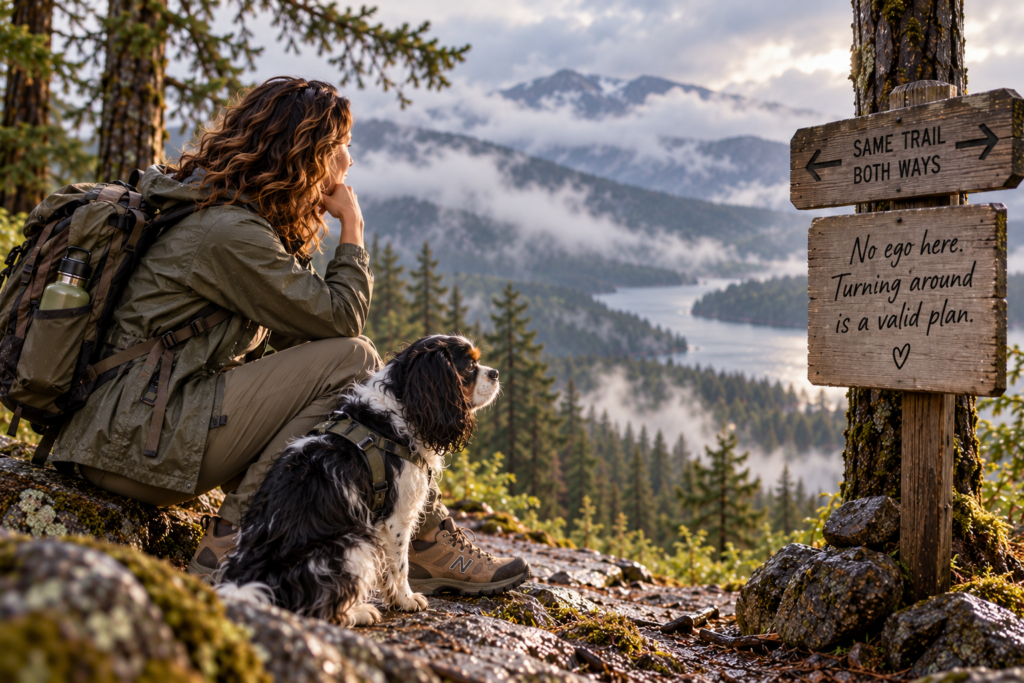
If you’re walking with other people, say something when you need something. A break. Water. Food. A slower pace. Five minutes to deal with your heel. The decision to turn around. Keeping quiet because you don’t want to inconvenience the group can allow a very manageable problem to become a much larger one.
And if you’re the stronger or more experienced person that day, don’t make someone else earn the right to speak up. Stay together. Let the pace work for the group. Ask how people are doing before they’re visibly struggling. Outdoor competence isn’t demonstrated by leaving everybody behind while you charge toward the summit.
This is also where knowing your current abilities matters more than knowing what you used to be able to do. Fitness changes. Skills improve. Bodies have good days and difficult ones. You can build toward longer distances, steeper terrain, higher elevations, or more challenging environments if those things interest you.
You don’t have to begin there.
Start with the trail you’re ready for. Let experience expand the trails you’re ready for next.
There is an enormous difference between challenging yourself and overriding yourself. One builds capacity. The other ignores information.
And by now, I suspect you know how I feel about ignoring information.
The outdoors doesn’t require you to prove that you’re tough enough to belong there. It asks you to pay attention, respect the conditions, respect your current abilities, and make decisions accordingly.
Do that, and preparation stops feeling like a collection of safety rules.
It becomes something much better:
confidence.
Leave the Trail Worth Coming Back To
We’ve spent a lot of time talking about what you need from the trail: safe footing, enough water, a route you can follow, conditions you can handle, and hopefully a beautiful place to spend a few hours.
The trail needs a few things from you, too.
Outdoor ethics are often summarized by the Leave No Trace principles. The full framework covers everything from trip planning and camping to fire and waste, but for an ordinary day hike, much of it comes down to something wonderfully uncomplicated:
Try not to leave evidence that you were there.
Stay on established trails where they’re provided, even when the tempting little shortcut looks faster. Cutting switchbacks and creating unofficial paths can damage vegetation and contribute to erosion. In heavily used areas, concentrating foot traffic on the actual trail helps protect everything growing around it.
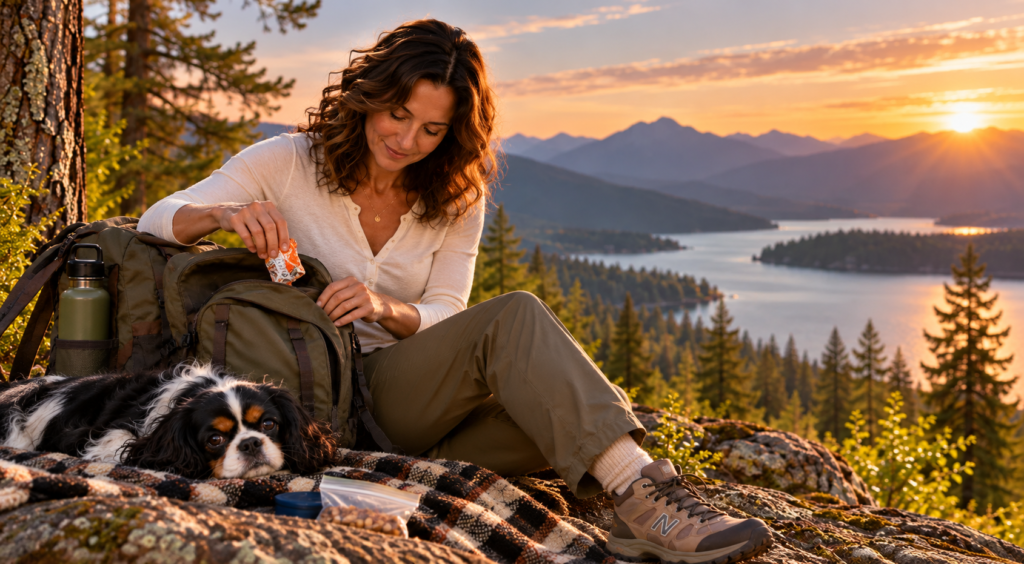
Pack out what you bring in—including food scraps. An orange peel or handful of nutshells may feel considerably more “natural” than a granola-bar wrapper, but that doesn’t mean they belong on the ground. Leave rocks, flowers, plants, artifacts and other interesting things where you found them, too. Take the picture. Keep the memory. Let the next woman discover it in the same place.
And please don’t build your own rock cairns because they look charming in photographs. In some places, existing cairns are actual navigation markers. Adding your own can confuse people about where the route goes—and moving established ones can do the same.
Trail etiquette matters as well. Generally, hikers traveling uphill have the right of way, and hikers yield to horses and other pack animals. If you’re passing someone from behind, a friendly warning before suddenly materializing six inches from her shoulder is appreciated. Rules can vary by trail and by the different kinds of users sharing it, so posted signs get the final word.
And sometimes protecting the trail means not walking it at all that day. If conditions have made a trail excessively muddy or vulnerable to damage, turning around can protect both you and the landscape.
None of this requires perfection or an advanced degree in outdoor ethics. It asks for awareness.
We’re visitors out there.
The trees, wildlife, streams, moss, wildflowers and everything else we came hoping to experience don’t exist as scenery arranged for our afternoon. They’re part of a living place we’re fortunate enough to move through.
Enjoy it. Respect it. And leave enough of it untouched for the person walking behind you to fall in love with it too.
That’s the complete original section—nothing from last night’s rewritten version mixed into it.
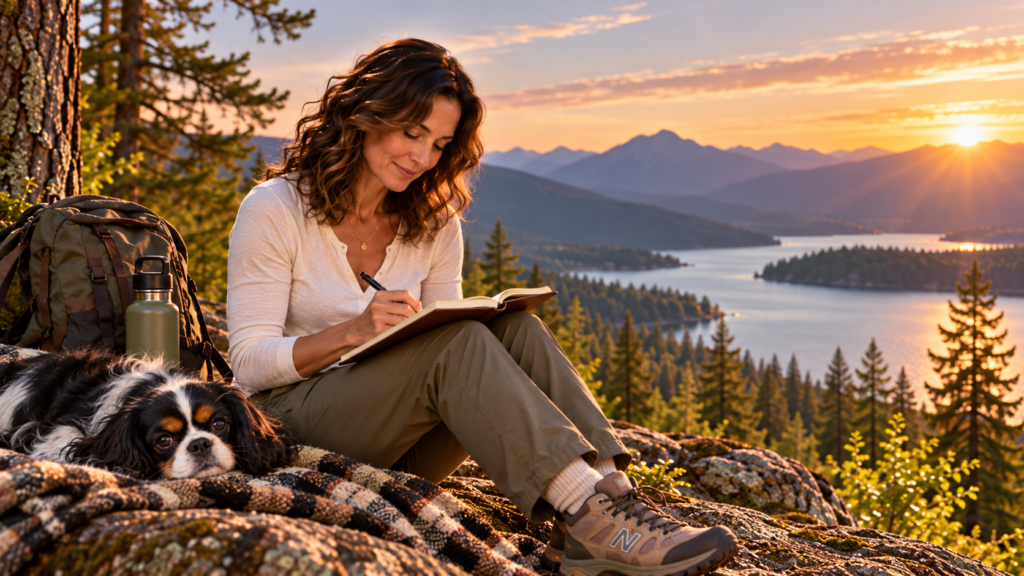
And yes, next I think we should generate that replacement image: Claire and Oreo stopped for a trail snack, Claire visibly gathering the wrapper/food trash from their break and putting it into her backpack, with absolutely no litter left behind. That gives this section the specific visual it was missing.
If Something Actually Goes Wrong
Most hikes end exactly the way they’re supposed to: you walk, you look at beautiful things, your legs become increasingly aware of the return mileage, and eventually you find yourself back at the car thinking about food.
But preparation exists for the days that don’t follow the script.
If something goes wrong, the first job is not to keep moving simply because movement feels like doing something. Stop. Assess what’s happening. Then make a decision.
If you’re lost or unsure of your location, don’t continue wandering in the hope that something will eventually look familiar. Stop, stay calm, look at your map, think about the last place where you knew exactly where you were, and determine whether you can safely retrace your route. If you cannot confidently determine where you are or how to return, staying in one place can make it easier for rescuers to find you.
If someone is injured, deal with the immediate problem first. Use the first-aid supplies you brought, keep the person warm and sheltered as appropriate, and determine whether they can safely continue. For a serious injury, minimize unnecessary movement and address immediate threats such as major bleeding while you seek help. If the injury is serious, the person cannot travel, or the situation is beyond what you can manage, call for help if you have a way to do so.
If you have a phone, try 911. But don’t assume a phone gives you reliable emergency communication in the backcountry. Cell coverage may be limited or nonexistent, which is why your emergency plan shouldn’t depend on your phone alone. If you can’t reach 911, look for another safe way to get word out. If another hiker is nearby, ask them to return to an area with reception and call 911. If someone in your group is seriously injured and help has to be reached on foot, the National Park Service recommends sending two or more people to alert authorities while the others stay with the injured person. If there are only two of you, stabilize the injured person as best you can before going to seek help.
If you do reach emergency services, give them the clearest information you can: where you are, what happened, how many people are with you, what condition the injured or ill person is in, and what supplies you have. If your phone or navigation device can provide coordinates, know how to find them before you need them.
If you carry a satellite communicator or personal locator beacon, this is the kind of situation it exists for. Again, know how to activate it and what happens when you do.
Emergency equipment works considerably better when you have met before.
If you become stranded and help is coming, make yourself easier to find. Stay put unless remaining where you are creates a greater danger. Use a whistle, light, bright clothing, or other signaling equipment when appropriate. Conserve your phone battery. Keep yourself as warm, dry, and protected from the environment as you reasonably can.
And if you told someone where you were going and when you expected to return, this is where that very ordinary little act becomes enormously important. Someone outside the situation knows that something is wrong, knows where you intended to be, and has information they can give to rescuers.
That’s why preparation isn’t pessimism.
You aren’t packing a headlamp because you expect to become lost after dark. You aren’t carrying first aid because you’re planning an injury. You aren’t leaving your itinerary with someone because you expect a search-and-rescue operation.
You’re creating options.
Most days, you won’t need them.
And that is exactly how we hope it goes.
Before You Step Onto the Trail
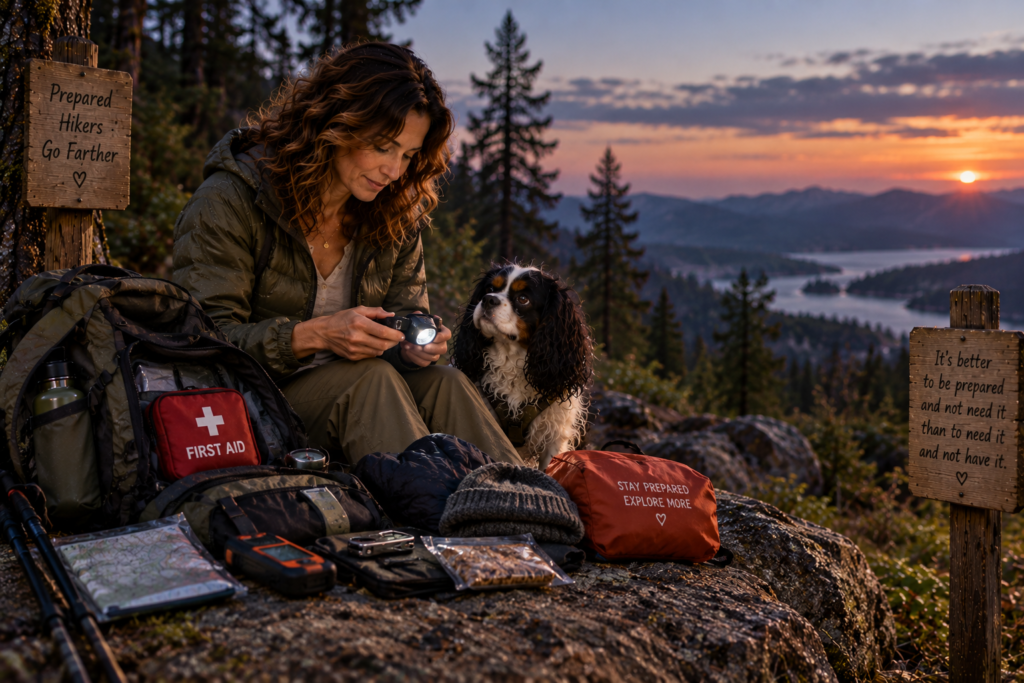
If you’ve made it this far, you may be looking at the shoes, rain layer, water, snacks, map, headlamp, first-aid supplies and emergency gear we’ve discussed and wondering when exactly your peaceful walk through the trees became a logistical operation.
It didn’t.
Most of this becomes habit surprisingly quickly. You check the route. You check the conditions. You grab the things appropriate to that outing. You tell someone where you’re going. Then you go.
You don’t need to stand at the trailhead reciting seventeen safety rules before you’re permitted to have fun.
But before you step onto the trail, take one last look at the day you’re actually about to have.
Where am I going? What are the conditions? What does this terrain ask of me? Do I have what I need if I’m out longer than expected? Does someone know where I am? And how does my body feel today?
Then start walking.
The National Park Service’s current trip-planning guidance follows much the same rhythm: know before you go, carry the essentials appropriate to the outing, check current conditions when you arrive, stay aware while you’re out there, and keep asking whether continuing still makes sense.
Because preparation doesn’t end when your boots hit dirt.
You keep gathering information.
Maybe the trail is easier than you expected and you feel fantastic. Wonderful. Maybe yesterday’s rain left the roots slick. Maybe the temperature climbed faster than forecast. Maybe your heel starts rubbing. Maybe the person you’re walking with needs a slower pace. Maybe the clouds rolling over the ridge make today’s destination considerably less important than getting back to the car.
New information. New decision.
If you’ve spent any time elsewhere in The Signals Project, that idea may sound familiar.
Your body is doing this all the time. It receives information from what you ask of it and from the environment surrounding it, and it responds. Out here, you’re part of that conversation too. You observe the conditions. You notice the response. You change what you’re doing when the information tells you something needs to change.
The original plan does not get to outrank reality.
That might mean adding a layer, slowing your pace, eating something, treating a blister, choosing the easier fork, taking a break, or turning around entirely. None of those decisions means you prepared badly.
Being prepared is what gives you options when the plan changes.
And that’s really what I want you to take from this enormous conversation before the trail.
Not that the outdoors is dangerous and you should be afraid of it. Not that you need a closet full of equipment before you’re qualified to walk beneath a tree. And certainly not that you need to know everything before you begin.
I want you to know enough for the next trail.
Choose somewhere that fits the skills and capacity you have now. Learn what that place asks of you. Bring what you reasonably need. Know how to use it. Pay attention. Respect the landscape. And give yourself permission to make a different decision when circumstances change.
Then, as your experience grows, perhaps the trails do too.
A little farther. A little steeper. Somewhere new. Maybe one day you learn to use that compass instead of merely knowing that the red needle does north things.
Confidence doesn’t have to come before experience.
Sometimes confidence is what experience slowly leaves behind.
So prepare well.
Tell someone where you’re going.
And then go see what’s out there.
Sources
National Park Service — Hike Smart
Trail selection, trip planning, weather and alerts, footwear, food and water, blister preparation, turnaround times, water crossings, tides, wildlife awareness, group pacing, and hiking within your abilities.
Hike Smart — National Park Service
National Park Service — Trip Planning Guide
Trip plans and trusted contacts, current conditions, equipment preparation, the Ten Essentials, changing plans when conditions change, staying together, wildlife awareness, and checking in after returning safely. This guide was updated August 21, 2026.
Trip Planning Guide — National Park Service
National Park Service — Outdoor Emergency Plan
What to do if you become lost or injured outdoors, including stopping to assess the situation, determining your location, safely retracing your route when possible, contacting 911, providing rescuers with useful location and medical information, staying put when appropriate, signaling for help, conserving resources, treating injuries, and responding when cell service is unavailable.
Outdoor Emergency Plan — National Park Service
National Park Service — The Ten Essentials
Navigation, hydration and water treatment, nutrition, illumination, emergency shelter, first aid, sun protection, insulation, fire, and repair equipment—and the importance of knowing how to use navigation equipment before heading out.
The Ten Essentials — National Park Service
National Park Service — Wilderness Travel Basics, Olympic National Park
Pacific Northwest wilderness preparation, including weather, map-and-compass navigation, river crossings, snow travel, winter conditions, glaciers, cell phones, wildlife, and water treatment.
Wilderness Travel Basics — Olympic National Park
National Park Service — Hiking Etiquette
Right of way, staying on established trails, respecting wildlife, protecting vegetation, responding to muddy trail conditions, situational awareness, and responsible trail use.
Hiking Etiquette — National Park Service
Centers for Disease Control and Prevention — Heat and Your Health
Heat precautions for outdoor activity, including hydration, shade, breaks, and choosing cooler times of day when conditions warrant it.
Heat and Your Health — CDC